Create Your First GitHub Issue: A Step-by-Step Guide
Hey guys! Let's dive into the world of collaborative writing on GitHub. Issues are super important—they're the main way we chat and organize tasks with everyone working on the project. Today, we’re going to create our very first issue. Think of it as leaving a note for yourself and your team, like a friendly reminder. So, let's get started!
Why Issues Matter?
Issues are the backbone of any collaborative project on GitHub. They help in coordinating tasks, tracking bugs, suggesting enhancements, and fostering communication among team members. Imagine you're working on a massive project; without issues, things can quickly become chaotic. By creating issues, you ensure that everyone is on the same page and that no task is overlooked. Plus, they serve as a historical record of discussions and decisions made during the project's lifecycle.
When you create an issue, you're essentially opening a discussion thread focused on a specific topic. This allows team members to contribute their thoughts, provide solutions, and track progress. Issues can be assigned to specific individuals, labeled for categorization, and linked to relevant code changes. This level of organization is crucial for maintaining a smooth and efficient workflow. So, next time you spot a bug, have a feature request, or simply want to discuss a project-related topic, don't hesitate to open an issue – it's the best way to get the ball rolling!
Markdown: Your Formatting Friend
In issues, and really all over GitHub, text uses something called Markdown. Don't worry, it's not as scary as it sounds! Markdown is just a simple way to format text using symbols. Want to make something bold or italic? Easy peasy! Headings? Gotcha covered. It's like giving your text a little makeover without needing to know any fancy coding.
Markdown is your trusty sidekick for formatting text within GitHub issues. It's designed to be easy to read and write, allowing you to add emphasis, create lists, and structure your content without the complexity of HTML. With Markdown, you can transform plain text into visually appealing and well-organized content. For instance, you can use # symbols to create headings, * or - to create lists, and ** or __ to make text bold. This simple yet powerful syntax allows you to communicate your ideas clearly and effectively, ensuring that your message is easily understood by your collaborators. Plus, Markdown is widely supported across various platforms, making it a versatile tool for content creation.
Here’s a quick peek at some Markdown basics:
# A heading

A list:

* apple
* banana

**bold**
*italic*

A todo list:

- [x] done
- [ ] todo

For Git's sake, put each sentence on its own line.
Please.
I beg you.
Want to learn more? Check out this handy Markdown Cheat Sheet.
Task: Let's Create an Issue!
Alright, let's get our hands dirty and create our first issue. Follow these steps:
- Go to the Issues Tab: Head over to the Issues tab in your repository. It’s usually located near the top of the page.
- Click New Issue: You'll see a button that says New Issue. Give it a click.
- Use This Title: Copy and paste this exact title into the title field:
Preregistration needed
Add Some Flair!
Now, for the fun part! In the description box, add a brief intro about yourself. Tell us what brings you to this workshop and what you're hoping to learn. And most importantly, play around with those Markdown formatting options we talked about! Try making some text bold, some italic, and maybe even create a list. The goal is to get comfortable with Markdown and see how it can make your text look awesome.
Crafting a compelling issue description involves more than just typing words; it's about effectively communicating your ideas and engaging your audience. Start by providing a clear and concise introduction to the issue, outlining the problem you're addressing or the suggestion you're making. Then, delve into the details, providing context and background information to help others understand the significance of the issue. Use Markdown formatting to structure your content, create headings, and highlight key points. Don't be afraid to use visuals, such as screenshots or diagrams, to illustrate your points and make your description more engaging. Finally, be sure to clearly state your desired outcome or proposed solution, and invite others to contribute their thoughts and ideas. By following these tips, you can create issue descriptions that are informative, engaging, and effective in driving collaboration.
Example Introduction
Here’s an example of what you could write in the issue description:
Hi everyone! 👋

I'm [Your Name], and I'm super excited to be part of this workshop. I'm here to learn more about collaborative writing and how to use GitHub effectively. I'm hoping to gain a better understanding of how to contribute to open-source projects and work with others seamlessly.

I think it's important for our project to have a preregistration, so I'm creating this issue to remind us to get it done.

Let's make this project awesome! ✨
After You're Done
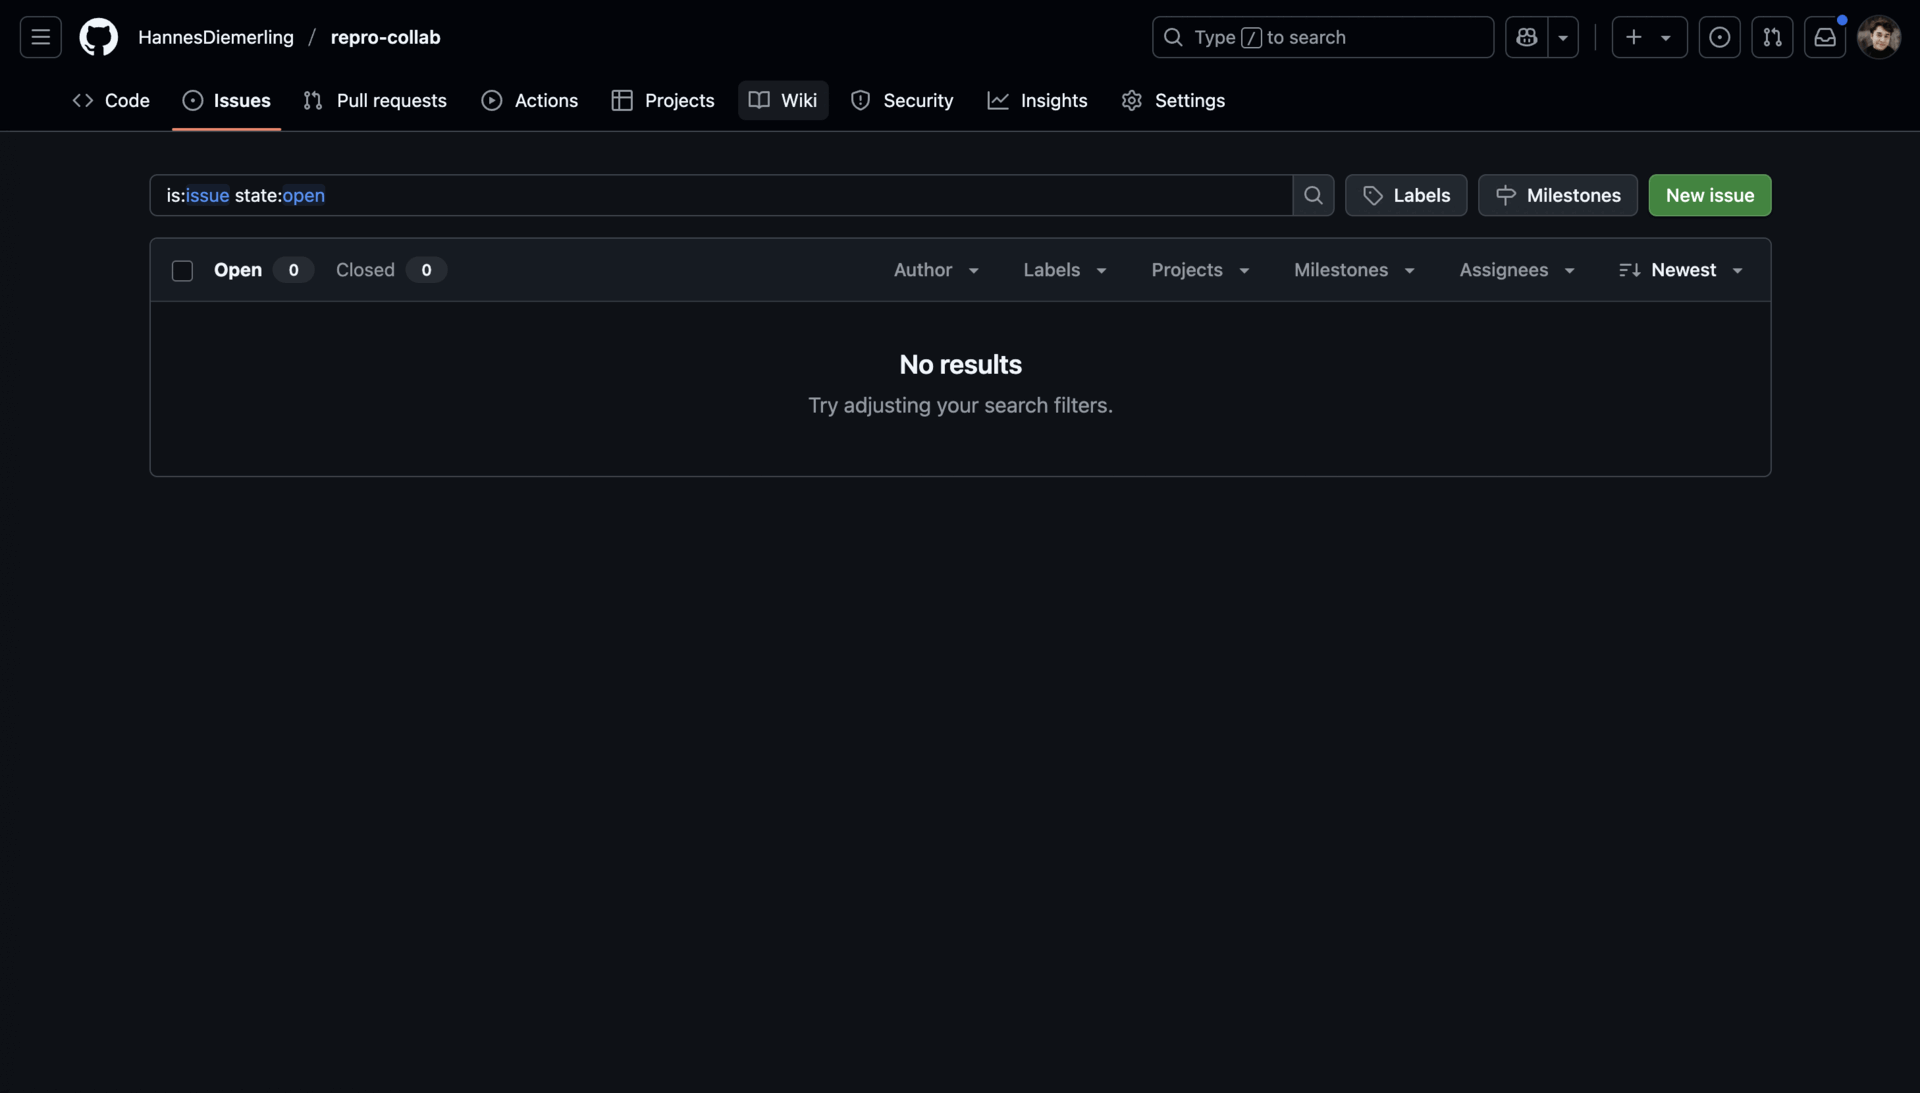
Once you've created your issue, head back to this issue and comment /done 4 here. This helps track our progress. You can see how to create your first issue on the following image:
And that's it! You've created your first issue on GitHub. Give yourself a pat on the back! 🎉
Conclusion
Creating issues is a fundamental skill for anyone involved in collaborative projects on GitHub. By following the steps outlined in this guide, you can effectively communicate your ideas, track progress, and foster collaboration among team members. Remember to utilize Markdown formatting to structure your content and make it visually appealing. And don't be afraid to experiment with different formatting options to find what works best for you. With practice, you'll become a pro at creating issues and contributing to open-source projects. So, go forth and create – your contributions can make a real difference!
This hands-on experience is invaluable, so don't hesitate to explore and experiment. And that's it! You've created your first issue on GitHub. Give yourself a pat on the back! Remember, practice makes perfect, so keep exploring and contributing.